DIY Gold Glitter Ombre Lamp


Learn how to create a gorgeous gold glitter ombre effect to refresh lamps, candlesticks and more!

This post may contain affiliate links. Please see my full disclosure policy for more details.
I’m so excited to share this month’s Thrifty Thursday project with you! This is a fun series where I team up with some very talented bloggers to bring you some great inexpensive and unique ideas to help you love your home. So be sure to check out the other Thrifty Thursday projects at the bottom of this post.
And if you’re just hopping over from one of the other blogger’s sites, then welcome to The Lived-in Look! Take a look around, I hope you’ll stay and join my amazing little community.
DIY Gold glitter ombre lamp
I haven’t ventured out to the thrift stores just yet, but I have a feeling that when I do, they’re going to be filled with some pretty amazing treasures. I mean, everyone’s been stuck at home purging their basements, garages and closets for the past 3 months. It’s going to be a gold mine for sure.
Until then, I’ve been trying to think of some unique ways to re-purpose some older things around the house to give them a little facelift.

I came across my daughter’s old nursery lamp that I tucked away in her closet while I’ve been working on updating and painting her big girl room. Sad fact, this room makeover has been going on for months, because well, I literally cannot get myself to focus and just finish the darn thing. And I sorta got sidetracked with our Master Bathroom makeover.
This little bird lamp was perfect for a nursery, but we’re going in a princecss direction for my daughter’s room with a gold and blush theme.
Since the lampshade already had gold tones in it, I decided to use some leftover metallic spray paint I had on hand to give it a little facelift. Plus I’ve been on a bit of a gold paint kick lately. You can check out one of my favorite gold spray paints here where I gave an antique firewood holder a little facelift.
GOLD GLITTER OMBRE supplies
- Gold Metallic Spray Paint
- White Satin Spray Paint
- Painter’s Tape
- Clear Sealant Spray Paint
- Gold Glitter
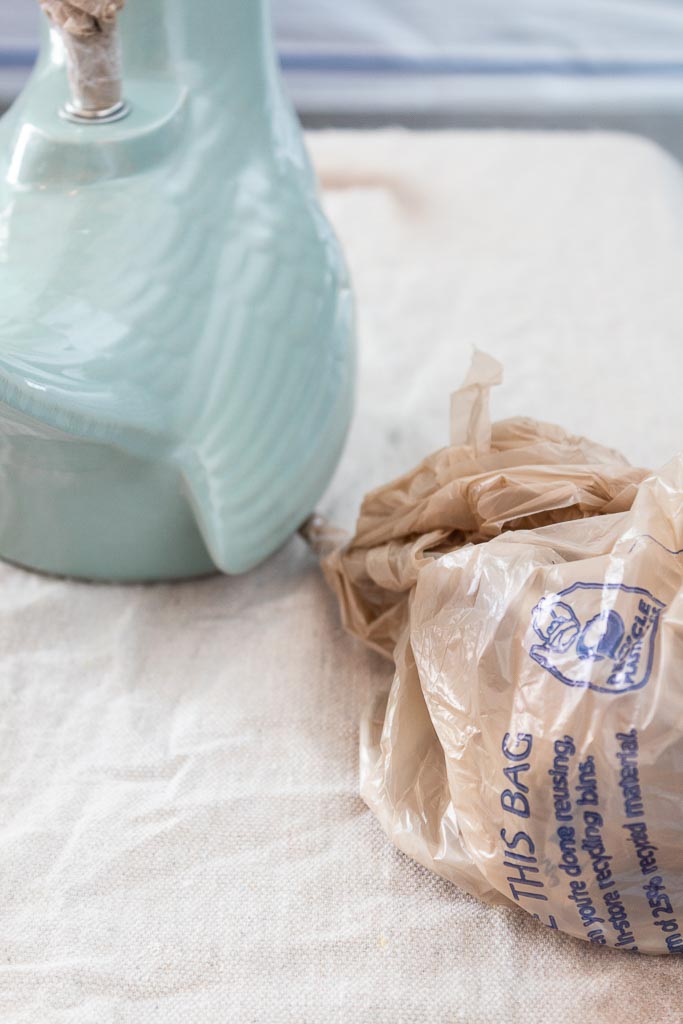
- Plastic Bags (any old grocery bag will work)
How to create a gold glitter ombre effect
Spray paint is one of the quickest, easiest and cheapest ways to update any home decor accessory. And lucky for me, I still have quite the stockpile of it from before quarantine.
step 1 – cover electrical components
Start by covering your lamp cord and post in a plastic bag and securing it with tape. This will protect the electrical components from the spray paint.


step 2 – Apply a base coat
Apply a base coat of the white satin spray paint around the entire lamp. This helps to better blend and fade the gold colors in to create that final light color of an ombre effect.


step 3 – create the ombre effect
Begin spraying the gold spray paint at the base of your lamp in short bursts. Repeat this around the entire base until the bottom half of the lamp is entirely covered in gold with no white visible spots.

Next, gradually spray another round of gold spray paint in short bursts about a quarter of the way up the lamp. Spraying in a vertical pattern will help create the ombre effect, but the real trick is to apply it heavier at the base and lighter at the top.

Doing this creates a faded look into the white paint and the full ombre effect from dark to light.

Step 4 – Prepare for the glitter
I really wanted to add a fun texture and a pop of glam to my daughter’s lamp, so I decided to use some spare glitter to jazz it up a bit. I fully expected to be covered in glitter by the end of this project and I wasn’t wrong. Glitter gets messy y’all.

Begin by taping off the bottom third of your lamp with painter’s tape. Be careful during this step and make sure that your paint has fully dried and cured. I made the mistake of rushing this project and my paint peeled right off with the tape when I removed it. Luckily it was on the backside, so not too noticeable. But annoying still. I hate when DIY goes wrong.

Step 5 – Apply glitter
Oh the fun part….bring on the glitter! Once you’ve tape off the section to be glittered, start by applying short bursts of gold spray paint in sections and then quickly sprinkling on the glitter to adhere to it.


You can also use spray adhesive to apply the glitter, which I did in some hard to reach areas since it dries clear and I didn’t want to spray over any sections that were already covered in glitter.


step 6 – seal the lamp
I didn’t wait long before removing the tape from my lamp. I was super excited to see how the glitter section turned out and I was NOT disappointed!

Super cute right?!
I finished off the lamp by adding a clear coat to seal the paint and glitter from falling off and let it dry overnight. Now to finish up my daughter’s room so I can put this adorable little lamp in it.


I hope you enjoyed this project, and don’t forget to hop over to the other Thrifty Thursday makeovers and show them some love!


Thrifty Thursday projects
- A Well Purposed Woman Painted Mirror Frame
- Windmill and Protea Ombre Painted Basket
- One-Thousand Oaks Farmhouse Hoop Wreath
- Practical Whimsy Designs Side Table Makeover
- The Inspired Decorator Painting Furniture with Wall Paint
P.S.
Are you on my mailing list? If not, you should be! I have some exciting projects coming up this summer that you won’t want to miss. So make sure to subscribe below!


I agree with Junette that this lamp was meant to be gold and glitter ombre. Great job bringing out its true character. I love it! And I love the glitter too! 🙂
Thanks so much Erin! I’m so happy with how it turned out
I think this lamp was meant to be a gold & glitter ombre lamp. I love how it turned out; you are a brave person to take on the glitter!
Thanks Junette! I’m pretty happy with how it turned out too
I love the ombre effect! It’s perfect for a princess room
Thanks Sara! I totally agree 🙂
So cute!! I love projects for little girl’s rooms. The glitter adds a nice touch to the lamp with that polka dots. My daughter need a lamp in her room too. You definitely got me thinking of ideas.
Thanks Elizabeth! I can’t wait to chow it to my sweet girl.