How to Make Your Own DIY Window Grids – It’s so Easy!
Are looking for an easy way to spruce up your windows? Have you ever considered adding grids or mullions to your windows? It’s a great way to give your home more charm while saving on money and eliminate the need to purchase new windows.

Just picture it. Bright windows bursting with sunshine, sweet little window grids framing each pane. And you won’t believe how easy it is: with just some basic tools and supplies, you can create beautiful window treatments in just an afternoon!
I’ll guide you through every step of the DIY process, and share my favorite products to instantly update the look of your home. Did I mention this project is renter friendly too? It is! These grids are completely temporary so you can remove them without any damage.
So get ready to add character and charm to any room by making your own diy window grids!
How do you make a fake window grid?
I’ve seen a lot of great projects floating around that involve materials like electrical tape or wood moulding to make DIY window mullions, but this is by far the best semi-permanent way to make your own window grids.
Tools needed
- Measuring tape
- scissor
- New Panes

Step 1- Determine the layout of your window frame
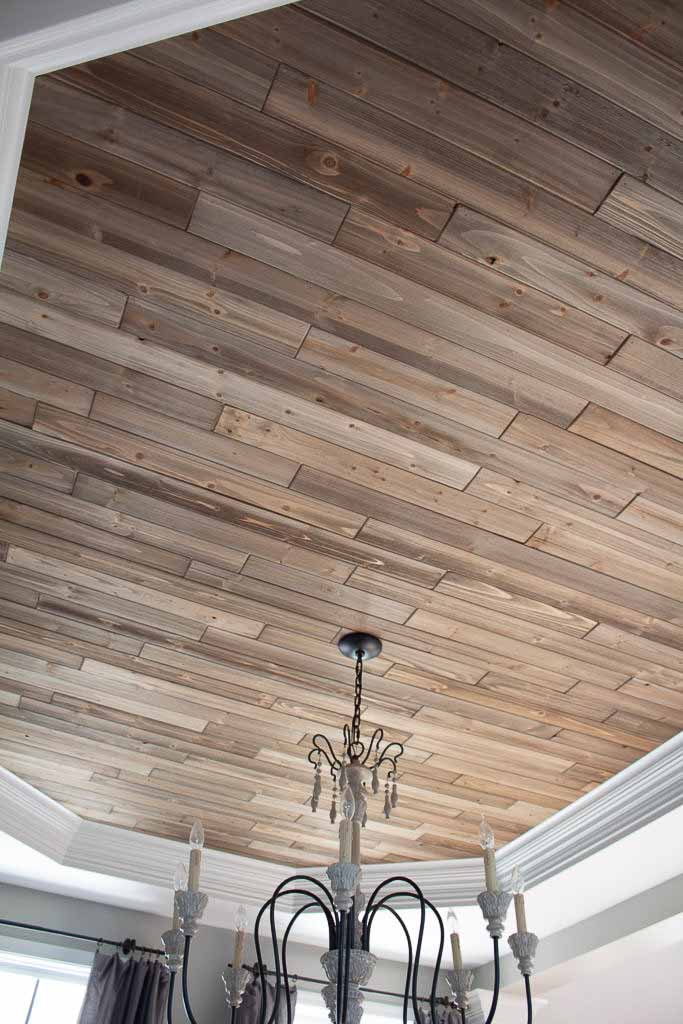
The first thing you should do is decide what style of window grids you prefer. This is completely a personal preference, but I like to take a note from the architectural elements that already exist in my home.
For example, our windows in the front of the house all have colonial grids with a very traditional style. And since we have an open layout floorplan, I wanted to keep with that timeless look. But you can do any number of designs from diamond grids, to modern huge dividers.

I recommend sketching out your grid pattern plan on a piece of paper, because it will make the entire measuring process that much easier. There’s no right or wrong method to it, just sketch out how many grids look good for the size window you have.

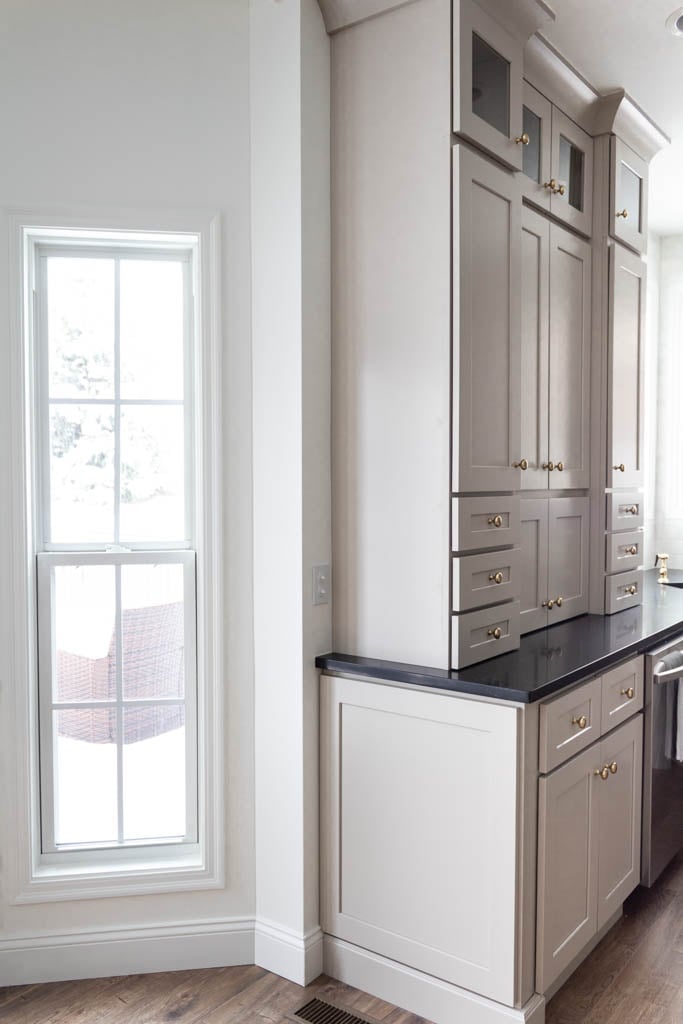
This is what I ultimately came up with for my kitchen. We have mix of little windows in our breakfast nook area, and a large window section just above our corner sink.
Notice how I circled the intersections? This comes in handy when it’s time to break up your measurements for individual cuts.
Step 2 – Measure Your Window Panes
The great part about this window grid kit from New Panes is that it provides step-by-step instructions on how to properly measure for the products. But just in case you’re like me and just want the cliffs notes version, I’ll break it down for you here.
New Panes has a few different ways you can install your grids, which all change the measuring process. For this version, I’m keeping it simple and creating just the internal grid strips that consist of vertical and horizontal bars without perimeter grids that sort of hold the frame together and stabilize it.

Again, this is a personal preference, but I didn’t want to make my windows appear bulkier along the outside and this method also uses less material.
Start by using a measuring tape to measure your glass panes to the inside edges of the frames both vertically and horizontally, making sure to be as precise as possible to get a snug fit.

Since you’ve determined your grid layout and intersections you can use the following method to help you plan your individual cuts for EACH length of the horizontal pieces and vertical pieces.
(Linear Measurement – # of intersections) / # of grids in that line
The grid strips themselves come in 4 foot lengths, so you can measure and score them with the end of your measuring tape to mark your cuts.
Step 3 – Make your cuts
I think my favorite thing about this project, aside from the fact that it makes your windows look great, is that you only need 2 tools to accomplish this. I used a measuring tape and a large pair of scissors to cut all of my strips.

Because the material is designed to be thin and flexible, you may notice that as you cut it, it tends to flare out a bit. Simply turn the strip on its side and gently press it onto a hard surface to return the shape of the ends back to their squared off positions.
Assemble each strip to a connector and repeat this process for all of your remaining vertical pieces.

Step 4 – Install Your Faux Window Grids
It’s a good idea to dry fit your assembled grids before installing them. I found that I sometime had to slightly trim off a little excess on the length and width.

My philosophy was that if it’s 1/16″ or less I just trimmed it off of one of the end pieces rather than disassemble and try to trim down each individual piece. It’s just not worth that much hassle and it’s not visible to the naked eye.
When you’re ready to install them you’ll want to wipe them down with the included alcohol cleaning pads to remove any dirt or residue caused form handling them.
Next you can trim down the included double sided adhesive foam and begin attaching it to the edges of each grid strip.

I would recommend only removing the backing from one piece at a time so that you can make sure it’s positioned in place before attaching everything to the outside of the glass. I found that starting at the top of the window and working my way down going from side to side helped to keep it stable.
The pieces are flexible and you might notice that you need to do some slight adjusting before securing them down.
As an alternative, you could also use a small dab of hot glue to secure your grids to the glass pane, but I’d only recommend this for indoor areas.

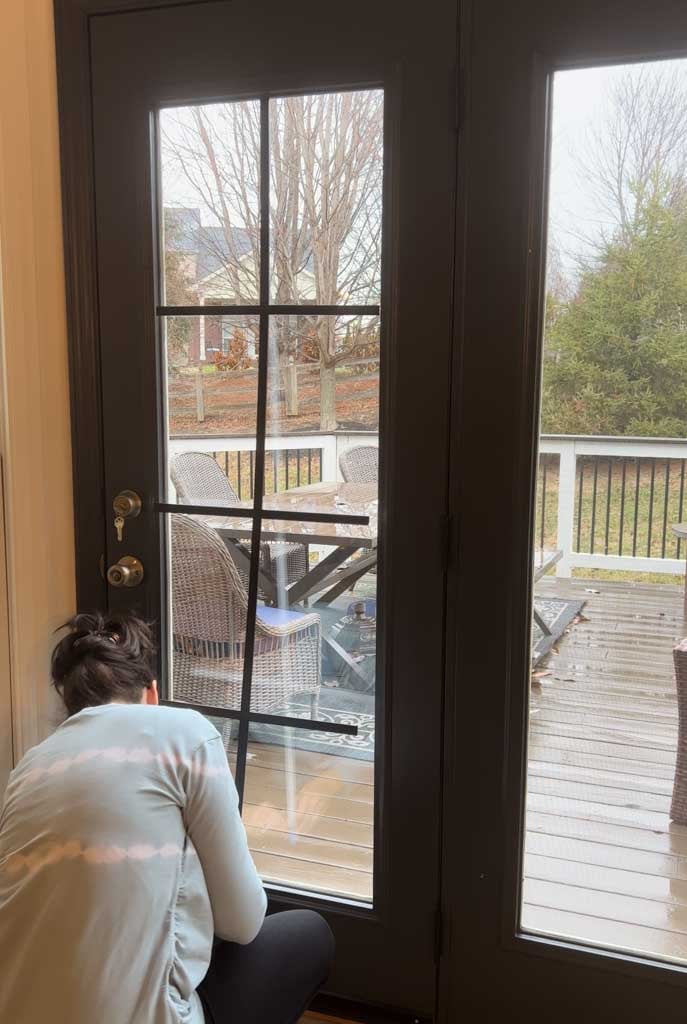
And that’s it! It really is that simple. I was able to cut and install all of our windows and french doors in an afternoon.


Although I’ve always had a place in my heart for black windows and so I decided to spray paint the grids on the doors with a coat of flat black and I think it instantly elevates that entire area now!


FAQs
Will this method work on sliding glass doors?
Yes! The grids are thin enough to allow all windows and doors to easily open allowing them to remain fully functioning just like internal window grids.

Can you see the double sided tape from outside?
Yes, however this only matters if you’re painting the grids a different color. The white adhesive will stand out so I’d recommend using a really good double-sided tape that’s clear if you plan to paint your grids.

Have a question about the project? I love hearing from you! Just drop it in the comment box below. And if you’re looking for another SIY friendly way to update your windows you can check out this easy cornice project.