How to Paint With Chalk Paint: A Chalk Paint Dresser Makeover
Learn how to chalk paint furniture with this easy to follow tutorial. I’ll go over all of the supplies you need to paint with chalk paint. And include my best practices for getting the best possible finish on your furniture makeover project.

This post contains affiliate links. Please see my full disclosure policy for more details.
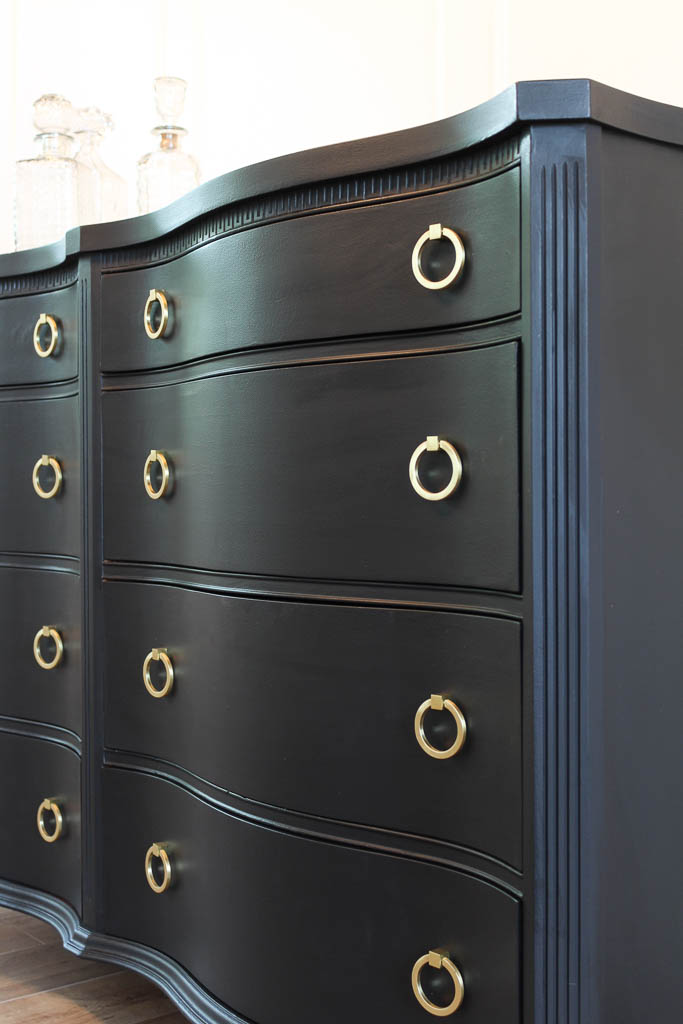
If you’ve been following the blog for a while, then you’ll probably recognize this gorgeous dresser from the One Room Challenge Project where I made over our entire dining room in just eight weeks. I had so much fun incorporating old and new items into the design. So when I came across this antique beauty for sale I just had to scoop it up and give it the perfect chalk painted makeover.
I’m excited to share this guide with you because it’s such an easy way to learn how to chalk paint for beginners. And I’ve had my fair share of these paint projects over the years, so I’ve definitely picked up a thing or two to cut that learning curve down for you.
Before we dive straight into the chalk paint tutorial, let’s cover a few of the basic things you need to know.
What is chalk paint?
The official term “chalk paint” is actually a registered trademark of the original creating company, Annie Sloan Paints. But many brands use the term chalk finish to describe their easy to use, fast drying matte finish paints as well.
Why use chalk paint vs regular paint?
I would never say that you should always use chalk paint for all of your furniture makeover projects. In fact, there’s many times where it just may not be appropriate depending on the surface you’ll be covering.
But I will say that if you’re itching to try your hand at painting furniture or other craft projects, and you’re just getting started out as a beginner, then this is the perfect go-to option to build up your confidence and painting techniques.
Best chalk paint
I’ve used just about every brand of chalk paint on the market, including my very own DIY version. But my hands down vote for the best chalk paint for beginners has to be Amy Howard at Home One Step Paint. You can read my full review of her paint line here, but I highly recommend this brand especially if you are newer to furniture painting, simply for its ease of use.

Basic Chalk Paint Supplies
Although many companies market specialty supplies made just for chalk painting, I’ll let you on a little secret. You can still use standard inexpensive paint supplies to get the same exact look, and I’m listing them for you right here:
- Chalk paint brushes – The most common question I hear is “what kind of paint brush should I use for chalk paint?” And the great news is, that you can use any hardware store brush that’s suitable for latex paint. Although I recommend using a high quality angled one, like this set here. The size needed also depends on how large the piece of furniture is that you’re painting. Avoid going too large so that you don’t experience paint drips or runs. But make sure that it’s large enough to get the job done with minimal paint strokes.
- Foam Rollers – For larger flat surface areas, you can easily use a foam roller for applying your chalk paint much more quickly and evenly.
- Chalk paint wax – There are also a lot of specialty designed waxes for glazed and antique finishes to seal your chalk paint layers. Unless you’re going for that particular look though, you can get away with using a basic furniture wax like this one from SC Johnson. It’s also far less expensive than the specialty brands.
- Furniture Degreaser – You’ll want to use a quality degreasing solution to clean your furniture or project piece prior to painting. My favorite degreaser is this one from Krud Kutter.
- A simple rag or microfiber cloth – Lastly, you’ll need a basic rag or lint free cloth for applying your wax sealer at the end.
So are you ready for the fun part?! Let’s show you how to paint with chalk paint!
How to chalk paint furniture
- Step 1: Clean Furniture before painting with chalk paint
Chalk paint requires very little prep work, but the one thing you should always do before you begin painting is thoroughly clean all surfaces of your project with a high quality degreaser. This will remove any dirt and residue so that the chalk paint can adhere properly and prevent chipping later down the road.

Make sure that you read the directions of your cleaner carefully. Some may require dilution or rinsing so you’ll want to be aware of that before you begin.
- Step 2: Prepare your chalk paint
Unlike regular latex paint, chalk paint can settle very quickly leaving a lot of sediment at the bottom of the can. It’s important that before you even begin to open a can of chalk paint for use, that you secure the lid and leave it sitting upside down for roughly 30 minutes to give the material time to fully shift up from the bottom of the can.
You’ll still want to use a stir stick to fully mix the paint after this timeframe as well.
- Step 3: Apply your chalk paint
Once your piece has been thoroughly cleaned and dried, you’re ready to get to work painting it. I recommend working in short manageable sections, as chalk paint is known to have a short drying time.
Begin by simply dipping your brush in the paint and applying it to your furniture piece in long even strokes. Avoid going back over top of a freshly painted layer as this can cause noticeable chalk paint brush marks.
The goal is to apply your paint in quick even layers so that it blends naturally as it dries.
You can also opt to use a foam roller if you’re working on large flat surface areas.

Don’t worry about applying the paint in heavy layers. It’s not necessary and can actually add on to the drying time. You’ll likely need at least 2 light and even coats of chalk paint to fully cover the piece.
You won’t need to wait long in between coats because the drying time tends to be very short. You’re able to apply a second coat of paint as soon as the first one has dried to the touch.

- Step 4: Seal your chalk paint
It’s typically recommended that you allow chalk paint to dry and cure for at least 24 hours before waxing it.

A little wax goes a long way, and you’ll want to begin by dipping your cloth or rag into the wax can and applying it to your chalk painted furniture in short circular motions.

Be sure to work it into all of the corners and grooves of your piece.

You may notice streaking and unevenness as you apply your wax finish and that’s perfectly normal. That will disappear in the next step.
- Step 5: Buff the wax finish
You’re almost finished! The last step in the process is to buff your wax finish to give it a nice even sheen. This is typically done after the wax has had a chance to dry. Anywhere from 24-48 hours is usually plenty of time to allow for this.
Begin by taking a lint free cloth or microfiber rag and gently buffing all surface areas of the furniture in circular motions. You’ll quickly notice the wax streaks and smears disappearing. And what you’re left with is a soft velvety finish on your furniture with just the slighted hint of shine.
Isn’t it beautiful?

Frequently asked questions
Do you have to sand before using chalk paint?
You don’t! And that’s the beauty of chalk paint, there’s minimal prep work involved. There might be a few scenarios however where you would want to sand down some imperfections, chips or pulling veneer prior to chalk painting. But there’s certainly no requirement to it.

I opted to do some light sanding because I needed to smooth out the patching job from filling in the previous hardware holes.

Can you paint over chalk paint?
Absolutely! In fact, I have a full tutorial here about how you can paint over a chalk painted piece of furniture should you ever decide to. It’s really not that difficult either.
How do you keep chalk paint from scratching?
By sealing it. The best way to protect your freshly painted piece is to seal it using a wax, acyclic or poly based material depending on the level of sheen and protection you’re going for. Make sure you read the instructions carefully before applying though. Some sealers, like wax, do require ongoing coats to keep it protected, but it’s nothing too high maintenance.
Do you have to seal chalk paint?
That’s entirely a personal preference, although I do recommend it if you want to protect the chalk paint finish from any potential damage (see question above).
I hope this tutorial was helpful to you! If you have any questions that I didn’t happen to cover, feel free to drop me a comment below. I love hearing from you!


Thank you for the information! This is so helpful!! Is sealing the piece different than the final waxing step you mentioned above (step 4)? Or is this considered sealing the piece?
You’re so welcome Emily! In this case I sealed it with wax, but you certainly can go with a different top coat.